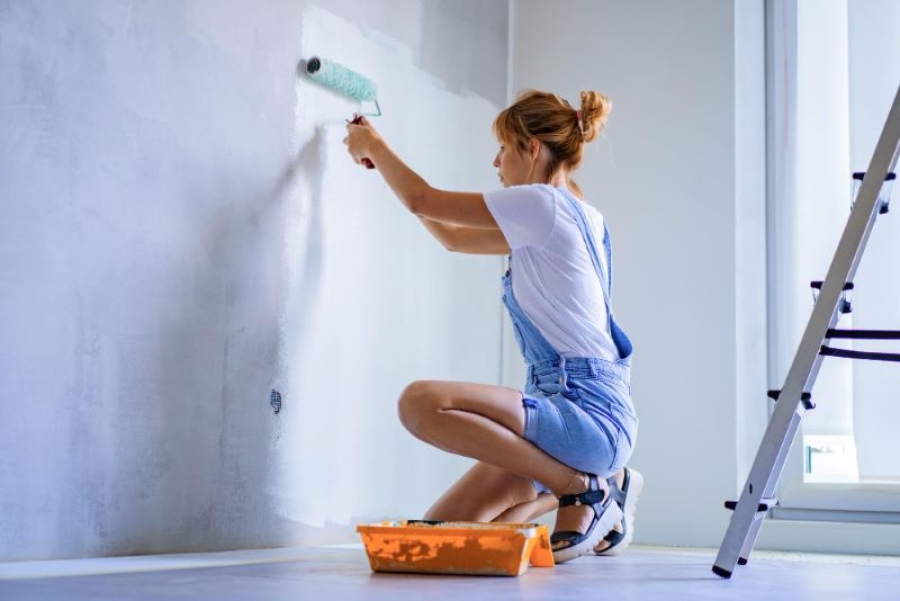
A fresh coat of paint can completely transform the look and feel of a room. Whether you're repainting to refresh your home or trying a bold new color, getting a professional-looking finish requires more than just a brush and a can of paint. Experienced painters have developed techniques over the years that help achieve smooth, even, and long-lasting results.
In this article, we'll cover some of the best interior painting tips straight from the experts. From preparation to application, these insights will help you paint like a pro.
Plan Before You Pick Up a Brush
Before you even open a can of paint, proper planning is essential. A rushed job often leads to uneven coverage, messy edges, and a finish that doesn’t hold up well over time.
1. Choose the Right Paint Type – Different rooms require different types of paint. High-traffic areas like hallways and kitchens benefit from durable, easy-to-clean finishes like satin or semi-gloss. Meanwhile, matte finishes work well for low-traffic areas like bedrooms.
2. Consider the Lighting – Natural and artificial lighting can change how a color appears. Test paint samples on different walls and check them at various times of the day before making a final decision.
3. Get the Right Tools – Invest in high-quality brushes, rollers, painter’s tape, and trays. Cheap materials often lead to streaks, uneven application, and extra work.
Preparing the Room Properly
Preparation is what separates an amateur paint job from a professional one. Skipping this step can lead to peeling, uneven surfaces, and a finish that won’t last.
Clear the Space and Cover Everything
Move furniture out of the room or into the center, then cover it with plastic sheets. Use drop cloths to protect floors from spills. Remove switch plates and outlet covers to avoid getting paint on them.
Experienced painters, like those at Southside Superior Painting in Gold Coast, emphasize that proper preparation prevents costly mistakes. Taking the time to tape off baseboards, window trims, and door frames ensures sharp, clean lines.
Fix Imperfections Before Painting
Inspect walls for cracks, holes, or dents. Fill them with spackle or a suitable filler, then sand the surface smooth. Painting over damage will only make flaws more noticeable.
If the walls have an old, glossy finish, lightly sand them to help the new paint adhere better. Dust the walls afterward to ensure a clean surface.
Prime When Necessary
Primer is not always needed, but in certain cases, it’s essential. If you're painting over a dark color with a lighter one, using a primer first will prevent uneven coverage. It also helps paint adhere to tricky surfaces like wood or drywall patches.
Choosing the Right Painting Techniques
A good technique can make all the difference in achieving a smooth, even finish. Here’s what experienced painters recommend:
Use the "W" or "M" Technique
Rolling paint onto walls in a "W" or "M" motion helps distribute paint evenly and prevents streaks. Start in one corner and work in sections, keeping a wet edge to avoid noticeable roller marks.
Avoid Overloading the Brush or Roller
Too much paint on a brush or roller leads to drips and an uneven coat. Instead, dip the brush about a third of the way into the paint and tap off the excess. For rollers, roll the excess off onto the paint tray before applying it to the wall.
Work from Top to Bottom
Start by painting the ceiling first, then move down to the walls. This prevents drips from ruining freshly painted areas. When painting trim, do it last so you can correct any wall paint that may have overlapped onto it.
Feather Out the Edges
Harsh edges or visible brush strokes can make a paint job look unprofessional. Use a dry brush or roller to feather out the edges before the paint dries to blend the strokes seamlessly.
Handling Common Painting Challenges
Even with proper preparation, issues can arise during the painting process. Knowing how to handle them can save time and effort.
Preventing Lap Marks
Lap marks occur when one section of paint dries before the next one is applied. To avoid this, keep a "wet edge" by working in small sections and overlapping slightly while the paint is still wet.
Dealing with Drips and Runs
If paint drips while applying, smooth it out with a brush or roller before it dries. If it has already dried, sand it lightly and repaint the area.
Avoiding Streaks and Uneven Coverage
Streaks can be caused by using too little paint or pressing too hard with the roller. Use enough paint for full coverage, and let each coat dry before applying the next one.
Knowing When to Apply a Second Coat
Not all paint jobs require a second coat, but it’s often necessary for full coverage and a polished finish.
1. Check for Uneven Patches – If the base color is still visible, a second coat is needed.
2. Wait for the First Coat to Dry – Rushing the second coat can cause streaking and peeling. Most paints require at least two to four hours before recoating.
3. Use the Same Application Technique – Maintain consistency in brush or roller strokes to avoid texture differences.
Cleaning Up Like a Professional
Cleaning up properly ensures your tools last longer and that there’s no mess left behind.
Clean Brushes and Rollers Immediately
If using water-based paint, wash brushes and rollers with warm, soapy water. For oil-based paint, use mineral spirits. Allow them to dry completely before storing them.
Store Leftover Paint Correctly
Seal paint cans tightly and store them in a cool, dry place. If you ever need touch-ups, having the original paint on hand will make matching colors easier.
Remove Painter’s Tape at the Right Time
Pulling off painter’s tape too soon can cause smudging, while waiting too long can lead to peeling. The best time to remove tape is when the paint is dry to the touch but not fully cured.
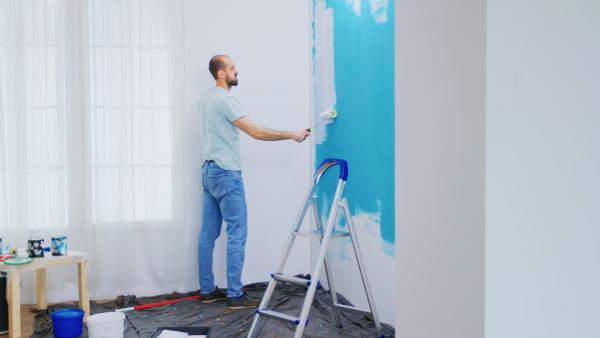
Final Touches for a Flawless Finish
Once the paint has dried, inspect the walls for any missed spots or imperfections. Use a small brush to fix any minor touch-ups. Step back and view the room under different lighting to ensure an even finish.
Let the Paint Cure Before Moving Furniture
Even if paint feels dry to the touch, it takes time to fully cure. Avoid pushing furniture against walls for at least a week to prevent damage.
Enjoy the Fresh New Look
A well-painted interior can make a home feel brand new. Whether you went for a subtle refresh or a dramatic change, following these expert tips will help you achieve a professional finish.
By preparing properly, using the right techniques, and addressing common challenges, anyone can improve their interior painting skills. And if the project feels overwhelming, hiring professionals is always an option to ensure a flawless result.